7 Pages are shown on the Main Page.

7 pages are shown on the Main Page. To see additional posts, click on the link "Older Posts" at the bottom of the main page. For videos go to https://www.youtube.com/@normanretzke4377/videos click "skip" to avoid ads


G has a "swell" time kayaking

G has a "swell" time kayaking
G has a "swell" time on Lake Michigan in an inflatable canoe

Dawn on the Gulf of Mexico

Dawn on the Gulf of Mexico

Warren Dunes Sunset

Warren Dunes Sunset
Warren Dunes Sunset

Saturday, January 3, 2015

Great Sand Dunes National Park


Bookmark and Share


Great Sand Dunes from Space

"Dunes Among Diversity 
The tallest dunes in North America are the centerpiece in a diverse landscape of grasslands, wetlands, conifer and aspen forests, alpine lakes, and tundra. Experience this diversity through hiking, sand sledding, splashing in Medano Creek, wildlife watching, and more!"

So reads the U.S. National Park Service description of this unusual national park. Approaching from a distance, it really doesn't seem that unusual. In fact, it appears as a small strip, or smear at the base of the Sangre De Cristo mountains.


As one draws closer the dunes finally get some definition:


Only after turning onto the entrance road and driving several miles does the true magnitude of this national park become visible. As is true with all of the national parks, taking a leisurely hike reveals the beauty and wonder.

A Fun Stop
We spent an afternoon at the park. It was a wonderful day in the sun. The Medano Creek was wet but easily crossed, and we hopped and zig-zagged to find the driest route and to avoid the deeper areas. We got wet feet, but that was all. Our sneakers dried quickly upon our return to the RT.

We have had some travelers comment on the flies and other pests, but we did not encounter this. We parked at the visitor's center and walked the trail in a northwesterly direction toward the Medano Creek. This was our first hike of several at this park. It was a very pleasant hike and we encountered some of the diverse wildlife in the area.

From the visitors center there is a good view of the dunes. It requires a telephoto lens to get some idea of the distance and to clearly discern the people walking the dunes:


We decided to walk the path from the visitor center toward the dunes. This path goes in a northwesterly direction and then turns northeasterly as it crosses Mosca Creek. It then traverses a parking area. The path points directly at the "High Dune" which has a height of 699 feet.  This is not the highest dune in the park. The "Star Dune" is taller at 755 feet.  The distances and heights can be deceiving.


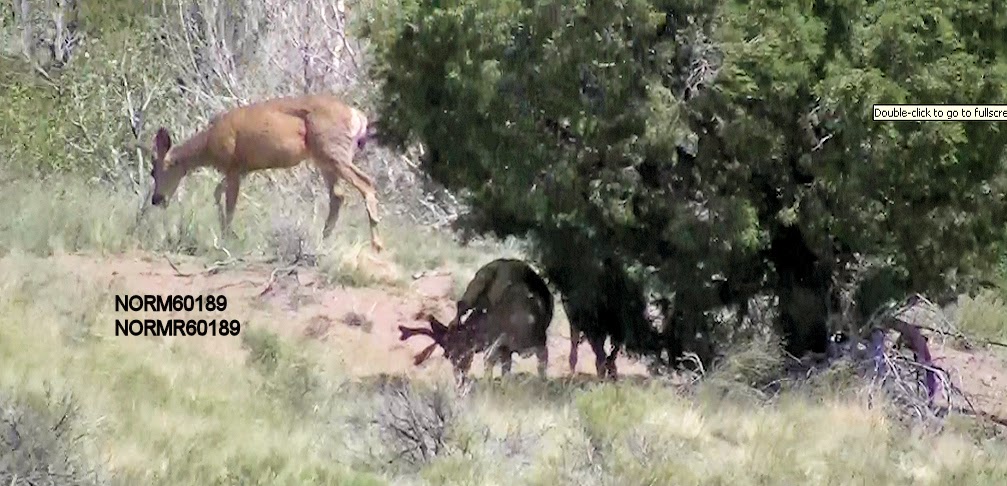
Along the way we encountered both flora and fauna, including a small herd of about 12 deer. There are several near and under the two trees in the center of this photo:


Here's a few telephoto photos of that same area:


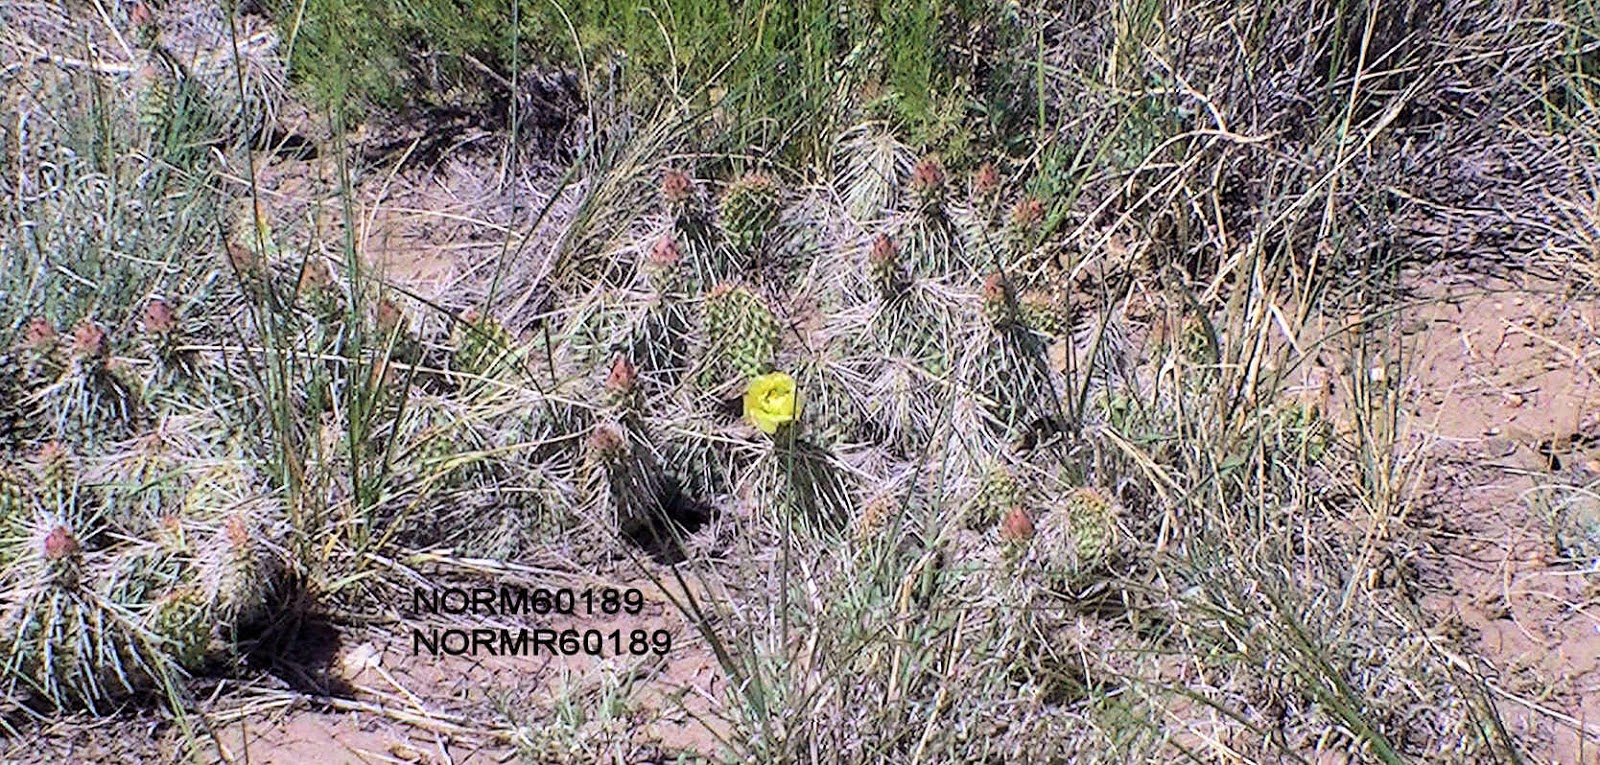
We continued on the path, in a direction to the right of the deer. There were cacti and other flowering plants along the way:


As we continued on the path toward the dunes and became closer to the deer, the deer decided they didn't want to mingle with us and so they departed:


Looking back toward the visitor's center, it became apparent we has walked a good distance:


We were tantalizingly close to Medano Creek and the dunes:


However, we decided to return to the visitor's center, get our vehicle and proceed to the parking area immediately adjacent to the creek.   We drove the short distance, parked and made the short walk to Medano Creek. We crossed easily and headed for the dunes:


Sand, beautiful sand!


The dunes don't seems to be very large or distant, but zooming in with a telephoto lens reveals just how massive they really are. You can see some of the dancing sand in the upper left hand corner of this photo:


I continued the walk to the dunes, leaving G to chat with another visitor.  You might notice the haze at their feet. It was windy, and that is blowing sand. In fact, I marvelled because the dancing sand of the dunes did seem to be alive:


Link to National Park Service Webcam:

Clicking will open a  New Window> Current Webcam Photo


Continued in Part 2

Friday, January 2, 2015

Capulin Volcano


Bookmark and Share


The Capulin Volcano National Monument in New Mexico is on Highway 325 about 5 miles southwest of Folsom, NM. One can drive up to the rim and there are also walking trails. There is no turnaround on the road to the volcano rim, so once you begin you must go the entire distance to the top.

Capulin Volcano from Space

According to the National Park Service, the park Visitor Center is situated at 7242 feet elevation and the rim climbs to 8182 feet. While Capulin Volcano is one of the most accessible volcanoes in the United States, the crater rim has an elevation change of nearly 500 feet.


The drive to the rim is via a 2 mile road. The road is 2 lanes and paved but follows the curve of the mountain which limits the size of vehicles able to pass each other comfortably. The maximum size of a vehicle allowed on the Volcano Road is 26 feet in length and/or 8 feet in width. The park service states "In order to accommodate large vehicles (motorhomes, buses, etc.), we must stop traffic. We will try our best to accommodate visitors who have larger vehicles, but accommodation will depend upon staffing and the number of vehicles at the top of the volcano." I suggest anyone with a larger vehicle stop at the visitor center and discuss with the park ranger.

If you are towing a trailer or towed vehicles you will have to stop at the visitor center and unhitch it and leave it at the center. If you are driving an RV towing a vehicle, you will have to unhitch and drive the smaller vehicle to the rim.

We stopped at the visitor center before proceeding on the volcano road. After determining the dimensions of the road and the restrictions we proceeded in the RT and easily made the 2 mile drive to the top top and down again.


Once we reached the parking at the rim, we were able to walk the trails and view the Raton-Clayton volcanic field, and the visitor's center in the distance.


Thursday, January 1, 2015

Palo Duro Canyon


Bookmark and Share


The second largest canyon in the country lies in the heart of the Texas Panhandle. Palo Duro Canyon State Park is about 29 driving miles south/south-east of Amarillo, TX.


Here's a short video and this gentleman says it very well. BUT. don't be deterred by the teaser model in the bikini:


Wednesday, December 31, 2014

Oops, email is now working again.


Bookmark and Share


Oops, turned out my ISP had put one of my email accounts to sleep, but didn't inform me of this.

Sorry to those who attempted to reach me via the email link on this blog. I've fixed the problem and my email now works again.

My thanks to Karen for sending me a comment in which she pointed this out.

I guess having my email working will be a fine way to start the new year right!


Wednesday, October 29, 2014

Progressive Energy Management System


Bookmark and Share


It's been an unusual year, and my trek plans were interrupted.  More on that on coming posts. With treks delayed I spent what available time I had planning and installing improvements. One of those was a Progressive Industries Energy Management System "EMS-HW30C." This post includes a video of the unit which I installed.

I chose this unit for these reasons, in no particular order:
  1. Ability to mount "inside" and protected from the weather. 
  2. Remote indicator with ON-OFF (bypass) control. This I have mounted inside the rear coach of the RT where it can be readily observed day and night. 
  3. The indicator displays line voltage, current (amperes) and frequency (Hertz).
  4. The indicator displays error codes, which provide indication of power conditions and also the internal condition of the EMS. 
  5. Multi-mode surge protection and easy replacement of MOVs. 
  6. Automatic power shutdown via contactor if AC voltage falls below 104 volts or rises above 132 volts, or if the RT is accidentally connected to 240 Volts.
  7. 15 second time delay on compressor start (adjustable). This avoids false trips. 
  8. Ability to bypass (disable) all energy management via a switch on the remote indicator. Surge protection via Metal Oxide Varistors (MOVs) is always enabled. 
  9. Lifetime warranty.
  10. Proudly manufactured in the U.S.A.
I reviewed a number of possible locations including under the RT, inside an internal compartment, inside an external compartment, etc.

I also considered wiring the EMS before the generator or after. However, I decided for simplicity to install it in the main 120V power cable.

I decided to install in an outside storage compartment. That compartment is the location of the 30 ampere power cable. I also decided to install the EMS with twist-lock 30 ampere connectors. This allows easy removal when cleaning the RV, when the RV is stored for the winter, or if service od the EMS is necessary.

Here's a photo of the power cable modified with the twist-lock connectors. This is without the EMS in the compartment:


With the EMS in the compartment. Brick was temporary to be certain it wasn't standing in water:


Display


The following video was filmed on July 1, 2014, but uploaded today:


Monday, September 29, 2014

Side Door Screen Solution


Bookmark and Share

We haven't had a bug problem, probably because of the weather we have had while using the camper van. Our travel plans were stopped this year by a number of issues. We did complete two spring treks and that was it until last week when we took a short 3-day shakedown before putting the camper into storage.

However, insects can be a nuisance. We do have an optional screen kit for the doors, and there is also a permanently installed screen on the window of the side entry door. Because of the cool weather early this year, insects weren't a problem.

However, it wasn't long and we pushed the side window screen out of the groove. This is a relatively easy thing to fix. Eight screws and the screen can be removed from the side door window, stretched and put back together.


Of course, it would only be a matter of time before there were more serious damage. I decided to make a permanent modification.

Solution
The problem was caused by putting one's hand on the edge below the window when exiting the vehicle. That might be to open the door fully or simply to steady oneself. Here is the solution:

Material: 1/2 x 1/2 inch aluminum angle, cut to length, file rough edges smooth and round.


We've debated the color, but for now the aluminum color is helpful and catches the eye when egressing the vehicle. I drilled two holes in the angle to match the existing mounting screws. This was a simple job.

Second Problem - Small Gap Around Screen
While I was at it, I sealed a small gap in the corner of the screen. This was easy with DAP "Quick Seal" which is paintable. I chose an almond color which I can also use around the home. I'll paint it black to match the trim of the screen window.