This is part 2 about care of AGM batteries in a "motor home." The previous post is part 1.
After a significant amount of research into the chemistry, technology and charging of AGM batteries I became concerned about battery damage including sulfation and freezing the battery electrolyte. I want to achieve longer battery life and have 100% rated battery power available when I am off the grid and am not running the generator. I decided I needed to make an improvement and installed a solar panel and solar controller-battery charger for my coach batteries. This post looks more closely at the research that led to my decision. I'll provide in brief the why's, as well as some of the "do's and don'ts." I am not promoting any product here. This describes the issues and the solution I chose, and provides background information about that decision. This may be helpful to others.
I chose a 50 watt solar panel and a "Solar Charger/Maintainer/Desulfator" rated for use with solar systems up to 180 Watts. The solar panel is not used when the vehicle is in motion. I decided on this approach because:
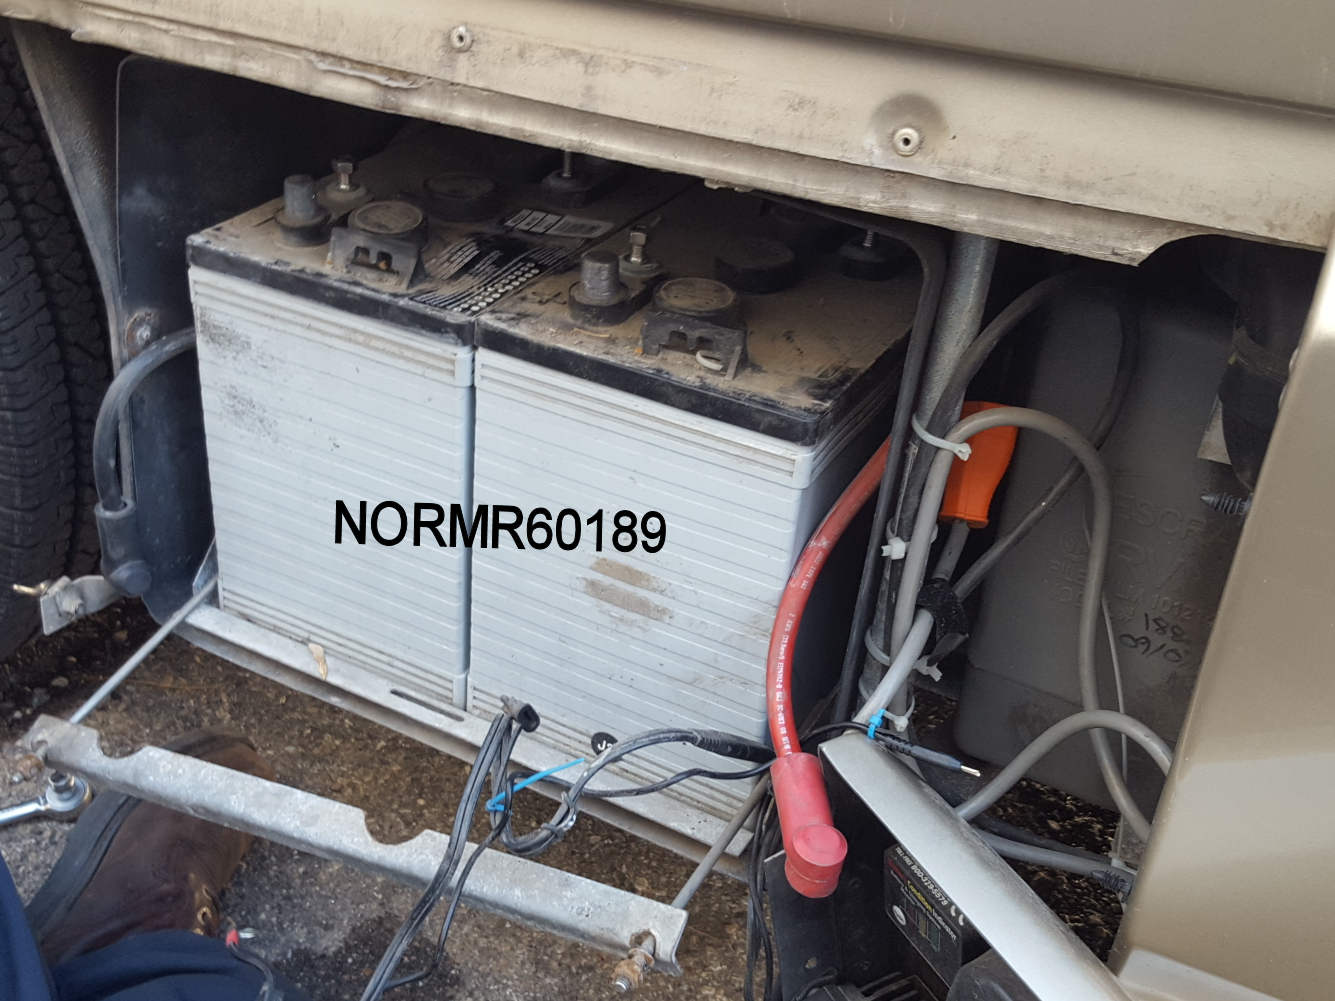
- The replacement price of the coach batteries would be about $250.00-$400.00
- The Camper Van may be stored for weeks and sometimes for months
- It's desired to achieve the maximum life from the coach batteries
- It's desired to have the batteries provide the maximum rated power throughout their life
- When stored, 120V shore power is not available. Solar power is the only available power option unless the generator or vehicle motor is running.
The following post provides, in brief, what I have learned on this subject and how what I learned has influenced my decision Why would I want to do this? I'd like to spare the reader the time to replicate what I have researched.
How to Achieve Full Life and Power from AGM Batteries
That is the goal. Get maximum power and longest life from the AGM coach batteries. Doing so should provide a more pleasurable trekking experience and reduce the annual cost of operating the camper van.
Deep Cycle AGM Batteries require complete charging,
but not overcharging to achieve full lifespan, avoid freezing damage and provide the amount of power expected from them.
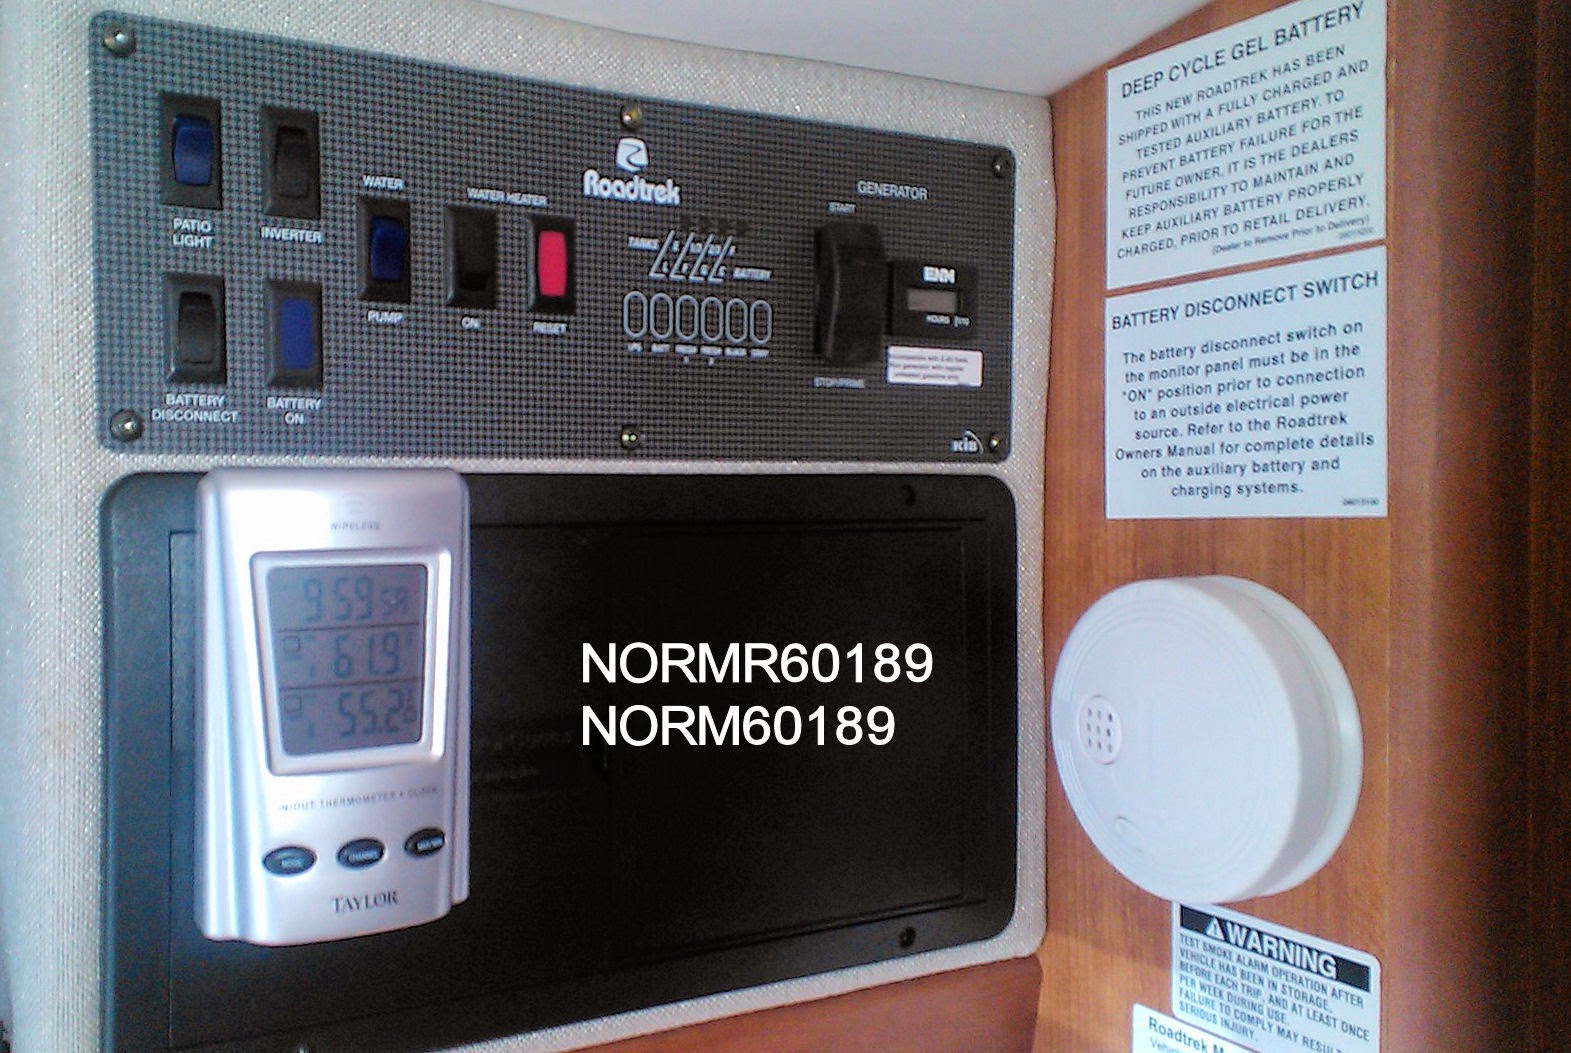
Roadtrek states in their 2014 210P manual "
AGM Battery Warranty....... is voided if AGM batteries are tampered with, topped off with distilled water or allowed to sulfate or freeze due to lack of charge."
Here are the most important things that dictate battery life:
- Preventive maintenance
- Depth-of-Discharge (avoid discharge below 75% charged)
- Charging to a full charge
- Temperature conditions of the batteries (cooler is better). Batteries are designed for an average annual temperature of 77F (25C). If the average annual temperature is 95F (35C) then the battery life will be reduced by about 50 percent.
What is full life? It varies. 3-5 years is fairly typical according to published information. However, AGM batteries are reputed to achieve up to 10 years if properly maintained, kept cool and if used in such a manner to maximize battery life. I decided I would prefer to replace these batteries every 6-8 years instead of every three years. I also decided I do want the maximum battery power to be available when needed.
Avoiding Sulfation and Extending Battery Life
Sulfation if left unchecked will kill the coach batteries. Sulfation begins when the batteries are not fully charged, and storing them unless "float charged" continues the sulfation process. The RT and most RVs include charging systems for the coach batteries. However, there are periods in which these 120V or engine and generator powered charging systems are not available. That is a problem. So how can I achieve my stated goal of long life at maximum power from these batteries under my actual storage and charging conditions?
Frequent charging while avoiding overcharging of AGM batteries will reduce, but not eliminate sulfation. Sulfation occurs each time a battery is discharged. Storing a battery is reputed to cause self-discharge and sulfation, and this is more serious at higher temperatures, above 75F. Batteries which are
not used weekly may experience sulfation.
Sulfation is the gradual coating of the positive lead plate of the battery with lead sulfate (PbSO4). Simultaneously the battery electrolyte, which is sulfuric acid (H2SO4) on losing SO4 molecules becomes diluted by water. This occurs during battery discharge. The chemistry is oxygen molecules (O2) from the positive lead plate combine with hydrogen molecules (H2) from the battery acid and the result is water (H2O).
Because AGM batteries are chemical devices,
cold weather will slow the sulfation process while
hot weather speeds it up. In other words, full charging may be more important at higher temperatures. On the other hand, as sulfation occurs battery electrolyte (acid) is diluted by water molecules and will freeze at lower temperatures than the normal electrolyte of a fully charged battery. Such freezing can damage the battery.
Normal charging does not remove all sulfate molecules from the plates. Over time they build up on the plate and ultimately contribute to the demise of the battery. Sulfation, or the formation of lead sulfate can permanently reduce battery capacity. If unchecked it can kill the battery.
Keeping batteries fully charged and reducing sulfation will extend the life of the batteries and provide optimum capacity. Battery life expectancy is directly the result of how well these batteries are maintained and how they are used (or abused). Key points are:
- Don't overcharge.
- Don't undercharge
- Keep fully charged and don't store undercharged.
- Use and keep the batteries at their average design temperature.
- Apply a periodic full-saturation charge to de-sulfate the batteries.
- Don't over-deplete; reduce the average "depth of discharge." and avoid "deep discharge".
- Reduce the number of "discharge-charge" cycles.
- Don't charge if over 120F and don't charge if the battery is frozen.
Some of the above might not be possible. That is why many batteries don't survive for more than 3 years according to some published sources. However, I'm convinced that good care and attention to these details will extend battery life for most users. One manufacturer of battery chargers/maintainers/desulphators claims that certain models of their product "can more than double the useful life of new batteries." I can't verify that. However, it's prudent to ask why some batteries fail within 3 years while others go on for 6 or more years.
It is my understanding there are two types of sulfation: 1) reversible (
soft sulfation), and 2) permanent
(hard sulfation). Reversible sulfation is normal and can be corrected by a specific charging regimen. When charging, the PbSO4 is converted to lead and the SO4 combines with hydrogen to form electrolyte. Non-reversible sulfation occurs when a battery has been in a discharged condition, or "low state-of-charge" for a longer period, be it weeks or months. In such a state the sulfate crystals become permanent, cannot be reversed by charging methods and
the capacity of the battery is permanently reduced and impaired.
Charging and Reducing or Reversing Sulfation
Special charging techniques are reputed to reverse sulfation. Battery charging states include:
- Bulk (high, constant current)
- Absorption (constant voltage)
- Float (hold at 100% charge)
- Equalization.(controlled absorption overcharge)
- De-sulfation
A microprocessor "smart" charger will include three or four of these states. Special chargers provide a fifth state called "de-sulfation." One charger manufacturer declares "Patented high-frequency pulse desulfation is designed to reverse and eliminate battery sulfation."
There is some controversy about the claims of "reversing sulfation." One critic states "simple, electronic de-sulfation is a one size fits all approach." On the other hand, I've seen no comments or evidence that such pulse desulfation techniques can harm the batteries.
How to Apply a "Full Saturation" Charge
Such a charge is a general recommendation for lead acid batteries. However, some AGM battery manufacturers have specific requirements of this type of charge and if not followed it is possible to damage the batteries. This type of charge is also called an "Equalizing" charge. This is done by a deliberate overcharge of the batteries. The problem with sealed AGM batteries is there is no way to measure the electrolyte condition and so the equalizing charge is guesswork and may be based on terminal voltage. My guess is it's better to use a good 4-stage charger and avoid deep discharges.
Choosing a Battery Charger
The charger included in your RV or camper van is probably a three-stage "smart" charger which includes bulk, absorption and float stages. "Float" charging is not "trickle" charging; a trickle charger can overcharge batteries!
I decided to add a "Charger/Maintainer/Desulfator" which was designed for use with solar panels. I also selected a solar panel which is overcapacity. This approach compensates for the lowered solar power that is available when daylight is minimized, such as during winter hours or when overcast. It also provides for a higher charging rate when there is optimal sunlight available.
Using a 50 watt solar panel provides a maximum 4.17 amperes of charging current at 12V during peak sunlight conditions. That's more than sufficient for maintaining or topping off the batteries.
Overcharging is to be avoided. I decided to use a solar charger that includes temperature compensation with float charging. The temperature sensor is attached to one of the battery terminals. This permits charging in cold and hot weather. The manufacturer states compensation works over the range 0F to 130F.
The solar charging system is only used when the batteries are not being charged via 120V shore power, generator power or via a running vehicle engine. It is intended to be used at any time the vehicle is stationary. The solar charger is connected directly to the batteries and operates independent of the position of the battery disconnect switch.
How Long Does it Take to Charge the Batteries?
The answer to that question is determined by the amount of sunlight available and the condition of the batteries. The purpose of the solar charger is to take the batteries from a condition of 85% to 90% charged to full charge, or apply a "topping" charge. Once at full charge, the goal is to "float" and desulfate the batteries while avoiding overcharge. Temperature compensation reduces the float charge as the battery temperature increases.
To bring a discharged battery to full charge can take 7 to 10 hours or longer. That is not the purpose of the solar system, but if there is sufficient daylight hours such charging is a possibility.
How Does "Depth of Discharge" Influence Battery Life?
Any AGM battery has a service life which is measured in number of discharges and the "depth of discharge." As a rule of thumb, the less the "depth of discharge" the longer the life of the battery, but it should be discharged to 90% peak when used. In other words, if used the battery should be discharged 10% and a battery which is repeatedly used and discharged to 50% of its peak capacity and then completely recharged may be usable for 1000 cycles. If one cycle occurs each day, then the battery may have a life of 3 years.
That same battery, if discharged to 75% of its peak capacity each day and then fully recharged may be usable for 2000 cycles. Under such conditions the battery may have a life of 6 years.
Furthermore, that same battery if discharged to 25% of its peak capacity each day and then fully recharged may be usable for 500 cycles. Under such conditions the battery may have a life of only 16 months. Discharging a battery to less than 25% capacity is to be avoided.
What are Battery Storage Choices?
Batteries can be disconnected and then charged if they are not going to be used for long periods of time. It's best to store the battery in a cool or cold place (sulfation is slowed when it is below 75F). Here's a few methods:
- Turn the battery switch "off" and then connect a 3- or 4- stage microprocessor controlled battery charger and fully charge the battery. If the charger includes an automatic "float" mode it can be left connected to the battery for long periods of time. Check your manufacturer.
- If the battery is fully charged connect a "float" charger, again check your manufacturer.
- Alternately, the battery can be removed in the vehicle and kept above freezing while a float charge is applied.
Avoiding the Freezing of Batteries
If the electrolyte in a lead acid battery freezes, the battery will probably be damaged. The capacity of such a damaged battery will be reduced. What are the freezing temperatures of a depleted battery? A battery in good condition that is 100% charged has the maximum concentration of sulfuric acid as electrolyte. As the battery discharges, the concentration of the acid is reduced as water molecules replace acid molecules in the electrolyte. Here are typical freezing temperatures for lead acid batteries at different charge states:
100% Charged = (-) 77F, or (-) 67C.
75% Charged = (-) 35F or (-) 37C
50% Charged = (-) 10F or (-) 23C
Other Sources
There are a lot of web based sources on AGM battery maintenance and charging. Enter "AGM battery maintenance", "AGM battery charging" or "AGM Battery desulfation" in your favorite search engine and you'll get a list.